Ecuador to Colombia Border Crossing: The Complete Guide (2023)
There are pros and cons to completing the Ecuador to Colombia border crossing by land. The benefit is that you will save a lot of money and see parts of each country that most travelers don’t get to experience (including the remote and stunning Las Lajas Sanctuary in Ipiales, Colombia).
On the downside, the Ecuador to Colombia border crossing is a bit complicated, will take an entire day (plus a couple extra travel days afterward if your end goal is the coffee region, Medellin, or Bogota). And of course, there are safety concerns. This is not the safest land border crossing in South America, although it is not considered dangerous either. You will just need to take certain precautions, which I’ll discuss below.
While traveling in South America, we ultimately decided to embrace the backpacker lifestyle and cross the Ecuador to Colombia border by a combination of buses, walking, and taxis, rather than go the easier (but much more expensive) flight route between Quito, Ecuador and Bogota, Colombia.
In this blog post, I’m sharing everything you need to know about the Ecuador to Colombia border crossing, including the main border crossing locations, safety tips, and a step-by-step guide to the Ipiales border crossing (the one we did, which is safest and most recommended).
NOTE | I completed this border crossing in late September 2022, and have updated this post for 2023. I am doing my best to keep this article updated, but I need your help! If you find this guide useful, please comment below with any changes or updates! Together, we can help future travelers navigate the Ecuador Colombia border safely.
Check out my other border crossing guides…
Ecuador to Colombia Border Crossing Guide
Panama to Costa Rica Border Crossing Guide
Costa Rica to Nicaragua Border Crossing Guide
Nicaragua to El Salvador Border Crossing Guide
El Salvador to Guatemala Border Crossing Guide
Guatemala to Honduras Border Crossing Guide
Honduras to Guatemala Border Crossing Guide
Guatemala to Belize Border Crossing Guide
Belize to Mexico Border Crossing Guide
Peru to Ecuador Border Crossing Guide
Sailing the San Blas Islands to Cross From Colombia to Panama (Coming Soon!)
Ecuador to Colombia Border Crossing Locations
There are three main border crossings between Ecuador and Colombia. However, one is extremely dangerous and one is quite remote, leaving only one (the Rumichaca bridge/Ipiales crossing) that you’ll be likely to complete.
The main Ecuador to Colombia border crossing locations are:
- Rumichaca bridge: The most common and safest border crossing from Tulcan, Ecaudor to Ipiales, Colombia. You can easily travel across from Quito in one day.
- San Miguel: The Amazon border crossing, which is not very commonly used but may make sense if you’re visiting the Amazon in Colombia.
- San Lorenzo: The coastal border crossing, which is highly dangerous and not at all safe for travelers.
Because we completed the Rumichaca bridge/Ipiales border crossing between Ecuador and Colombia, and because it’s unlikely you’ll be attempting either of the other two options, the rest of this guide will focus solely on that crossing!
Ecuador to Colombia Border Crossing: Complete Guide
Unlike the Peru to Ecuador border crossing, the Ecuador Colombia border is more like other traditional South America land borders. There is no bus line that can take you directly across the border. This means, you’ll take a combination of buses and taxis to the border, walk on foot across the border, and then take another combination of taxis and buses on the other side.
Don’t worry – I explain all the details below!
How the Ipiales Border Crossing Works
Like I mentioned, this border crossing has quite a few steps and can seem pretty complicated if you’re not keeping track.
In order to complete the Ecuador to Colombia border crossing at Ipiales, you’ll need to follow this route:
- Get to Quito, Ecuador
- Bus from Quito to Tulcan, Ecuador
- Taxi or combi from Tulcan, Ecuador to the Ecuador-Colombia border
- Exit Ecuador and get stamp
- Walk across the Rumichaca bridge (no man’s land)
- Enter Colombia, show MIG form, and get stamp
- Exchange US dollars to Colombian pesos (optional – but recommended)
- Taxi to Ipiales, Colombia
- Onward travel from Ipiales
Before you complete this border crossing, you should also be prepared with some important items or details.
These travel requirements include:
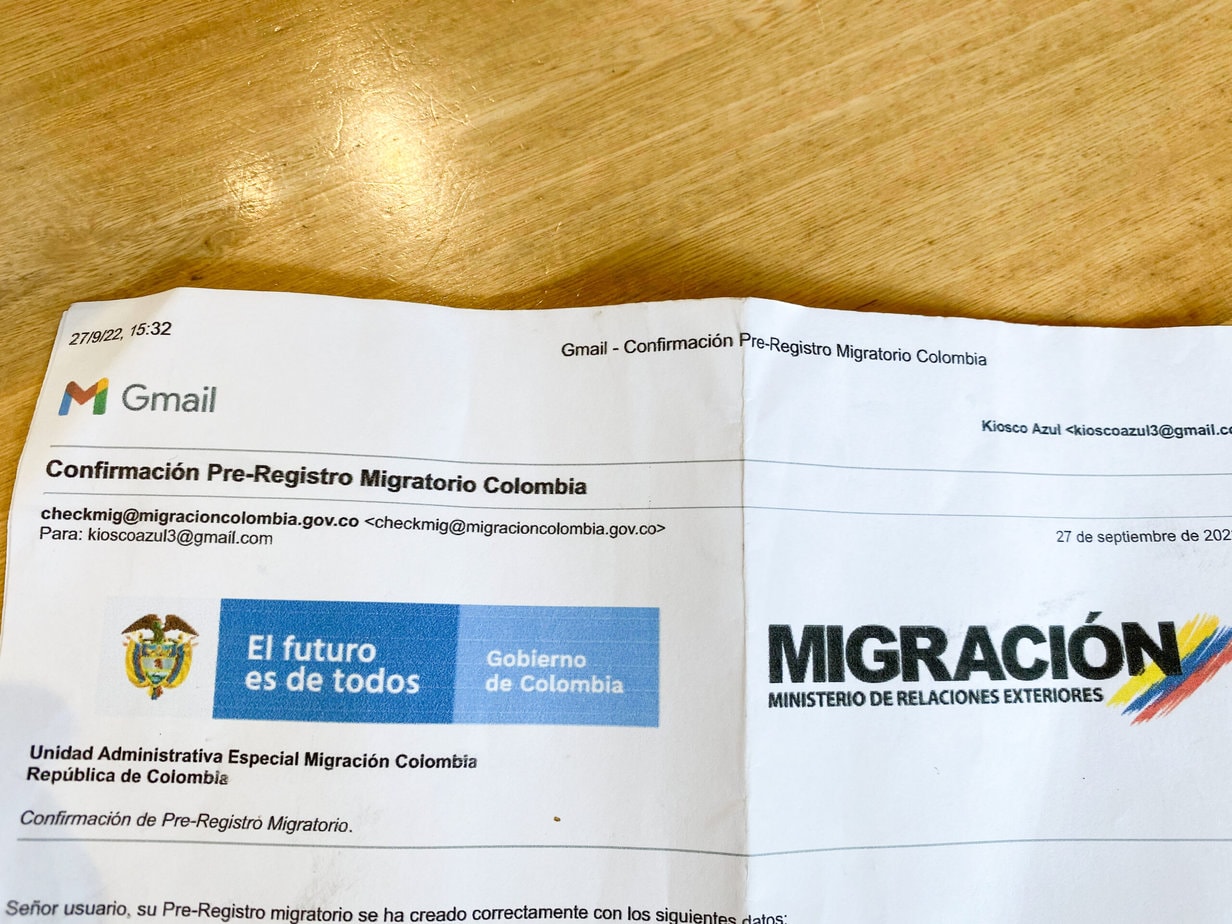
- Completed Check MIG form: This is a form that’s mandatory to enter Colombia. You can have it done for $6 USD on the Ecuador side once you arrive, like we did, but I don’t recommend it (it’s way overpriced and a little stressful). Prepare ahead of time by completing it online. A screenshot of the form on your phone is perfectly acceptable. Update April 2023: A fellow traveler commented below that the check MIG is no longer required for land border crossings! However I couldn’t find any official websites that mentioned this change. Future travelers, please comment any updates below.
- Pre-booked accommodation in Colombia: In order to fill out the MIG form and answer the immigration officers’ questions, you need to provide the address of where you’re staying on your first night in Colombia. Of course, you could make something up, but having accommodation booked also gives you peace of mind. We booked one night at Hotel Royal Class in Ipiales and I highly recommend it – incredible value, clean, and safe.
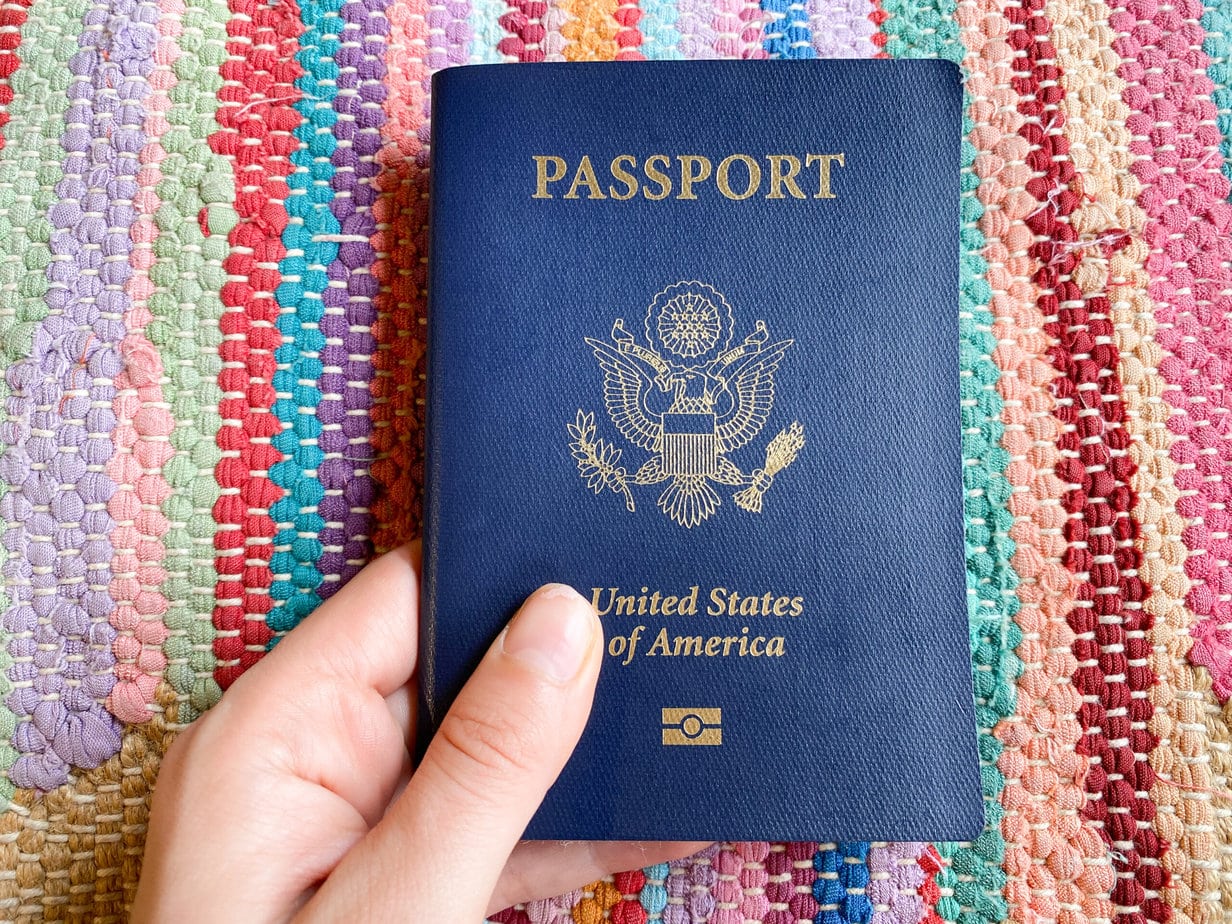
- Six-months passport validity: It’s always good to have a minimum of six months of passport validity and at least two empty passport pages before you cross any international border. Some countries turn you away without this.
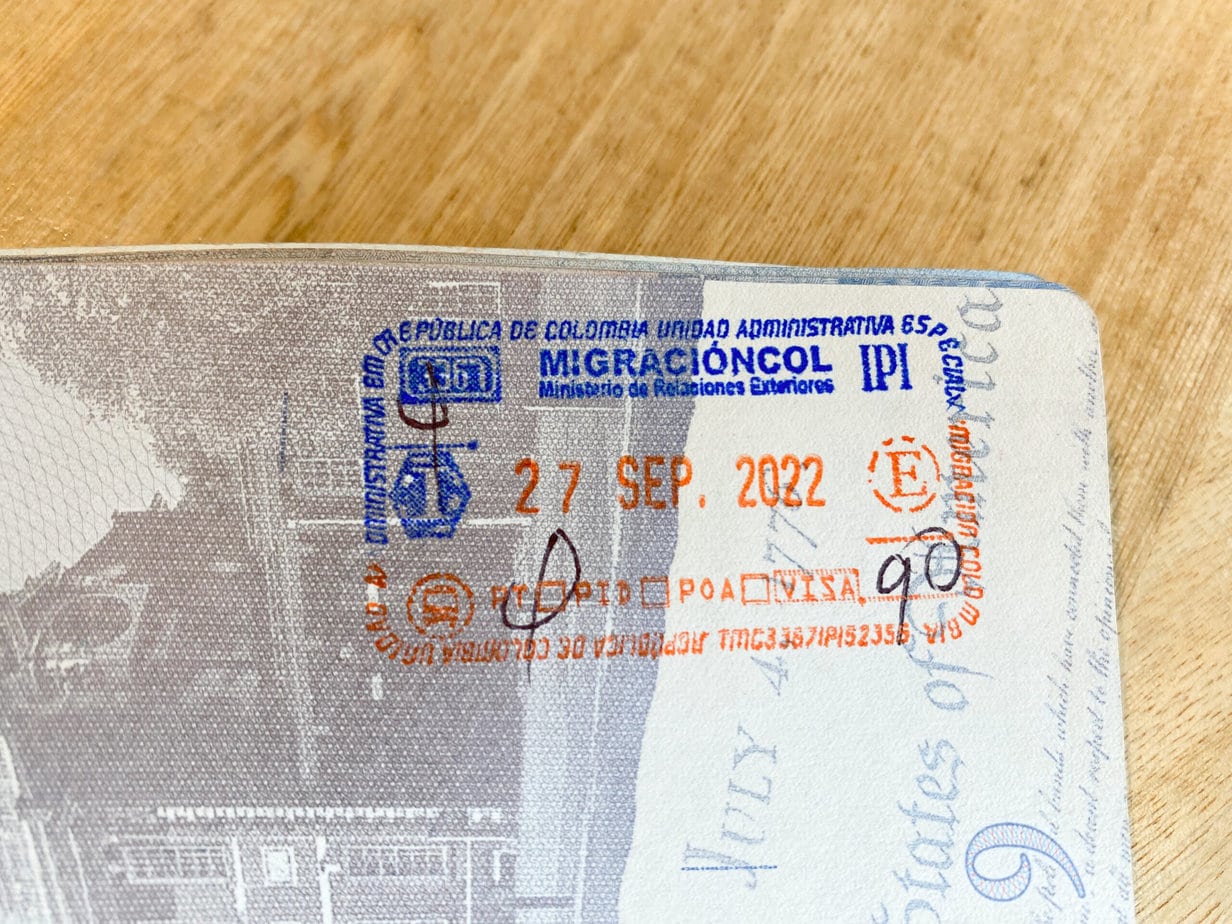
- Check entry requirements: It’s different for every nationality, so check on your government website. Currently, USA and UK citizens can enter Colombia visa-free for 90 days.
- Check health requirements: As you probably know, things are constantly changing regarding COVID-19 travel rules. Currently, you need to show a complete vaccination card, or a negative COVID test. You should check your country’s embassy page for the most reliable information.
Below, I explain all of these steps in detail, as well as our personal experience crossing the Ecuador Colombia border. However, your journey starts before that…
Where to Begin Your Journey in Ecuador
You are probably wondering where in Ecuador you need to begin your journey! There are a few different options but the most convenient place to begin this border crossing is from Quito.
Personally, Dan and I were spending a few days in Mindo, Ecuador (a chocolate lover and waterfall-enthusiast’s dream!). We didn’t really want to go back to Quito just for one night, so we started our journey really early from Mindo.
The first bus from Mindo to Quito is at 6:30am, which meant the earliest bus we could get from Quito-Tulcan was at 9:25am. While everything turned out okay for us, we got lucky with no lines at the border. This border is a major crossing point for Venezuelan refugees, and sometimes you can wait 5+ hours (although this has calmed down recently).
Even without any lines, it was still a long day. If you want to be cautious, and especially if you’re a solo female traveler (more on that later) then I recommend you take an even earlier bus from Quito.
One other option is to begin your journey in Otavalo, Ecuador. Otavalo is a touristy market town situated between Quito and the Ecuador Colombia border. You’ll actually be closer to the border with this option, but you’ll also have to hail the bus coming from Quito and hope they have room to let you on.
Ecuador to Colombia Border Crossing at Ipiales: Step by Step Guide
Dan and I completed the Ecuador to Colombia border crossing in late September 2022. Like I mentioned, we started our journey from Mindo, so this guide will cover all the steps we took from there.
If you’re starting your border crossing from Quito, the below steps will still apply to you, but I recommend beginning the journey with an earlier bus so you have more time at the border before nightfall.
1. Bus from Mindo to Quito, Ecuador
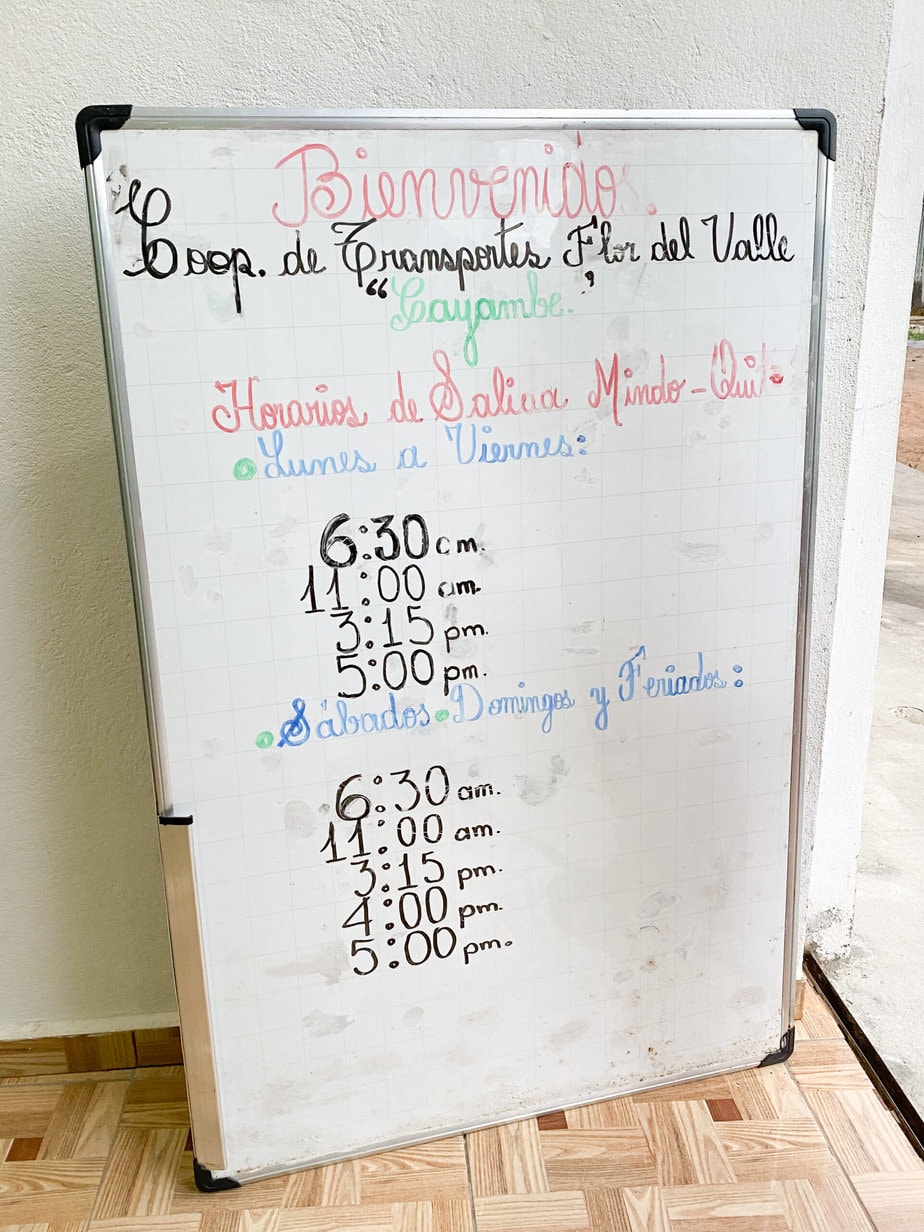
The first step of our long border crossing day was to get to the Mindo bus station. Like a lot of places in Ecuador, there aren’t really addresses per se, in Mindo. To find the bus station, look up “Coop. Flor Del Valle” on Google Maps. The station is on the dirt road that intersects between Av. Quito and Progreso Progreso roads.
I say station, but it’s really just a small stand where you buy tickets, and the bus parks on the road. If you arrived to Mindo via Quito (likely) it’s the same spot where the bus dropped you off in town.
The bus from Mindo to Quito leaves three times a day, but you need to get the earliest possible bus if you’re planning to cross the border to Colombia that same day.
The Flor del Valle bus from Mindo to Quito leaves at 6:30am and costs $3.60 USD per person. The journey takes 2-2.5 hours.
Cost: $3.60 USD per person
Time: 2 hours 15 minutes
2. Taxi from La Ofelia to Carcelen station
We arrived to the La Ofelia bus station in Quito around 8:45am, and our next issue was to transfer to the correct station for the bus to Tulcan.
Buses from Quito to Tulcan leave from the northern bus terminal: Carcelen.
If you’re starting your journey from Quito then it makes sense to take an uber directly to the Carcelen station (yes, even though they’re technically illegal, I recommend taking ubers when possible in Quito because based on my experience they’re MUCH safer and reliable and you’re less likely to be scammed).
Side note: If you’re looking for accommodation in Quito, we really enjoyed Rebel Hostel. The staff here were particularly helpful with looking up border news (there were riots on the Colombian side a few weeks before our crossing which we had no clue about until they told us).
Since we were coming from La Ofelia station which is also in the north, Carcelen station was quite close. We took a taxi (from inside the station – not the street) for $3 USD, which took about 10 minutes.
Cost: $3 USD
Time: 15 minutes
3. Buy bus ticket to Tulcan, Ecuador
Once at Carcelen station, we had to buy our bus tickets to Tulcan. There are a LOT of daily departures from Quito to Tulcan, and a LOT of bus companies that operate this route, so don’t worry too much about exact times (just get there as early as you can).
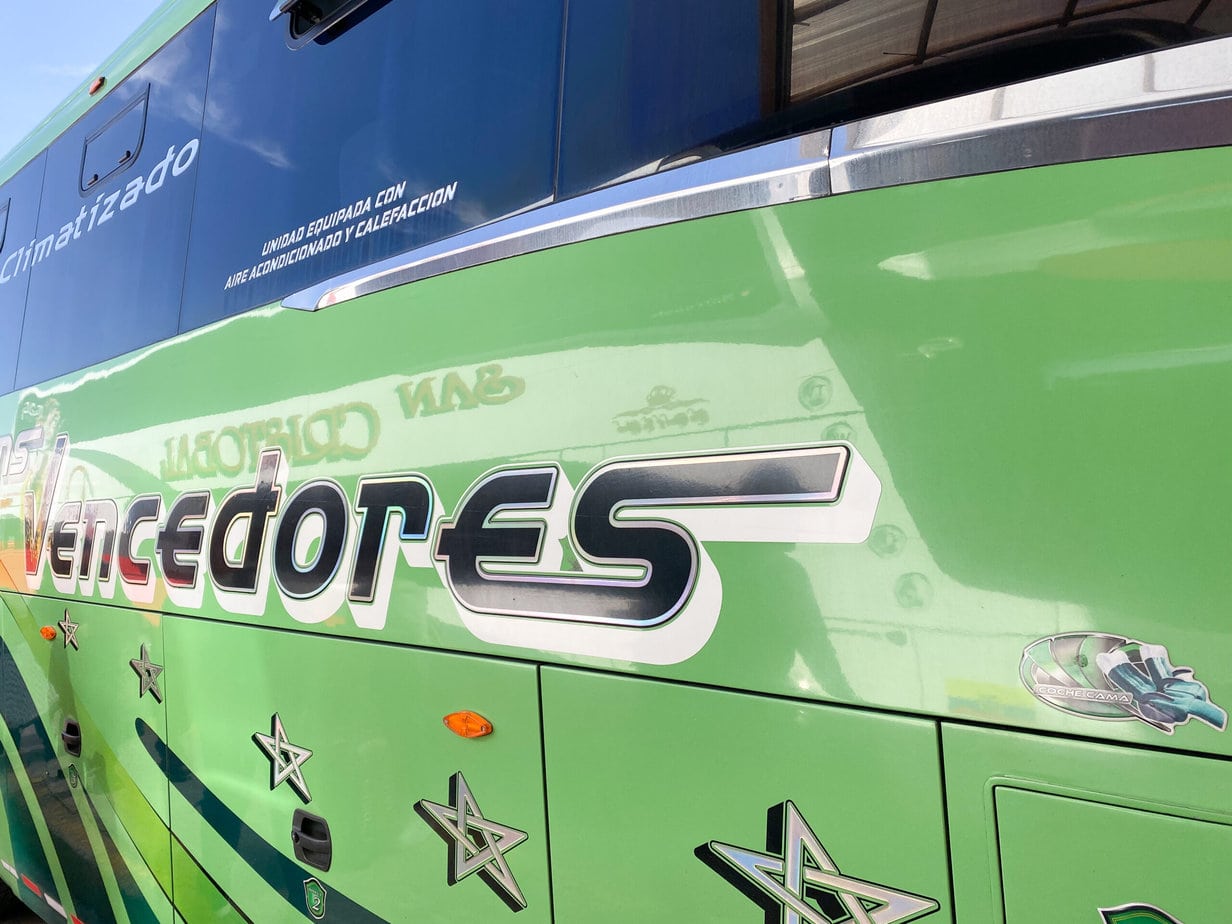
Around the back of Carcelen station there is a row of like 6-8 bus companies all yelling “Tulcan!!!” at you. We just went to the least aggressive looking one (Vencedores). We paid $6 USD per person for tickets to Tulcan, but we also heard other vendors (like Expreso Tulcan) offering $7.50 USD. I’m pretty sure the prices just change depending on how soon they have a bus leaving and need to fill up seats.
When we bought our tickets, they gave us a couple water bottles (nice touch after all the screaming!), and a staff member even walked us from the ticket stand to the spot where the bus was leaving from. We waited around for a while and when our bus was loading up the staff member directed us toward it.
Cost: $6 USD per person
Time: 25 minutes
4. Bus from Quito to Tulcan, Ecuador
Our Vencedores bus (bright green) left at 9:25am. It seemed like there were buses leaving to Tulcan literally every 5 minutes though so don’t worry about getting that exact time. In fact, if you’re not coming from Mindo like us, then I recommend you get a much earlier bus to Tulcan (like, 6-7am).
Overall, the journey was relatively comfortable but long. We arrived at Tulcan in about the estimated five and a half hours at 2:55pm. Notably, we were the only gringos on the bus.
Cost: –
Time: 5 hours and 30 minutes
5. Taxi from Tulcan to the Ecuador Colombia border
The Tulcan bus station was a huge parking lot with some buildings surrounding it. We got off the bus and collected our bags. Dan bought some snacks here and used the bathroom (25 cents).
Our next step was to get from Tulcan to the Ecuador Colombia border. We saw three or four combis leaving for the border, but we didn’t want to wait for them to fill up.
Instead we took one of the many, many yellow metered taxis to the border (you will see tons of taxi drivers all shouting “frontera!” AKA “border!”). Our taxi cost $4USD and only took about 10 minutes.
Cost: $4 USD
Time: 15 minutes
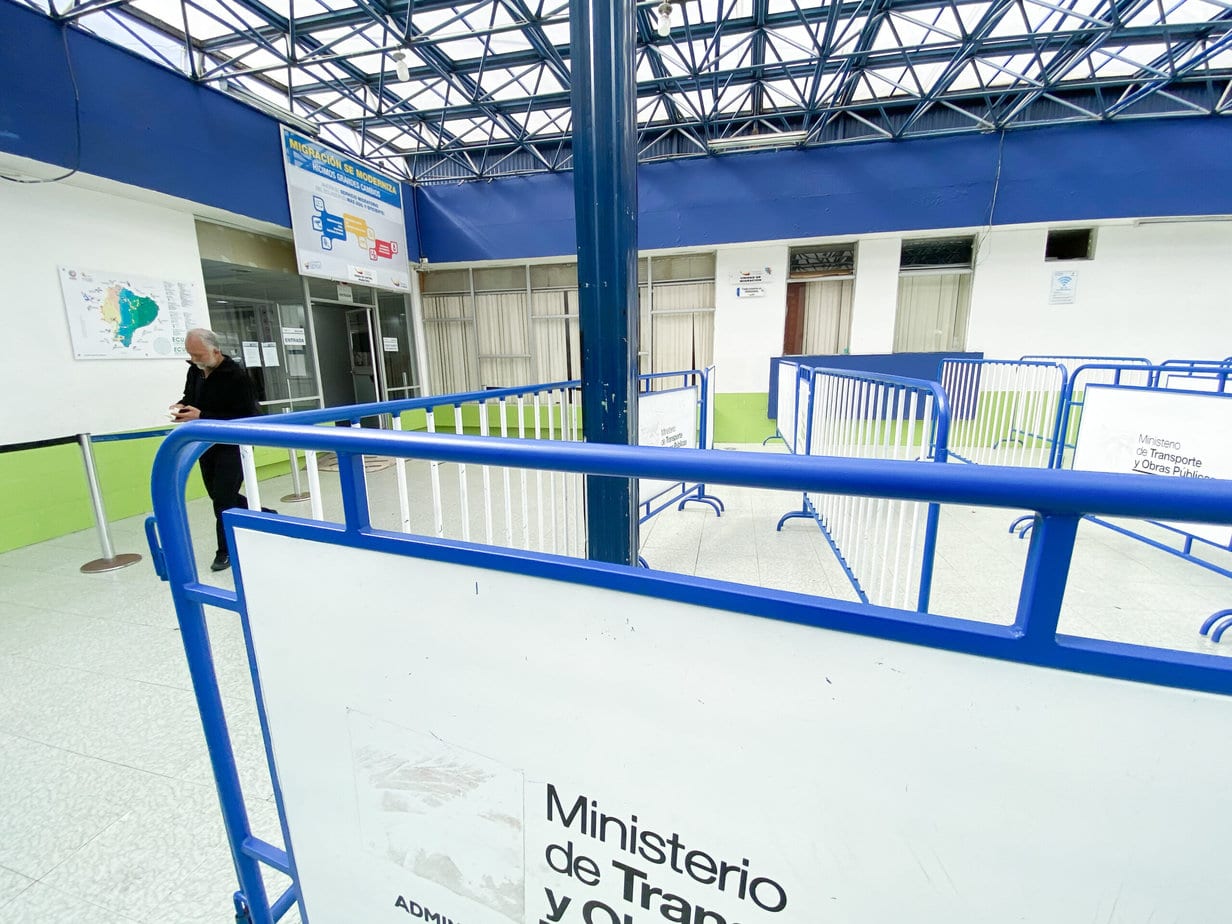
6. Exit Ecuador
It was about 3:10pm by the time we reached the Ecuador Colombia border. There is a big building here with a pretty obvious sign that says migraciones (immigration). This was our first stop.
There was no line when we arrived, so it only took about 10 minutes to talk to the Ecuadorian immigration officer and have our passports stamped. I checked my phone and it was only 3:20pm by the time we’d officially “exited” Ecuador.
Cost: –
Time: 10 minutes (could be a lot longer based on lines)
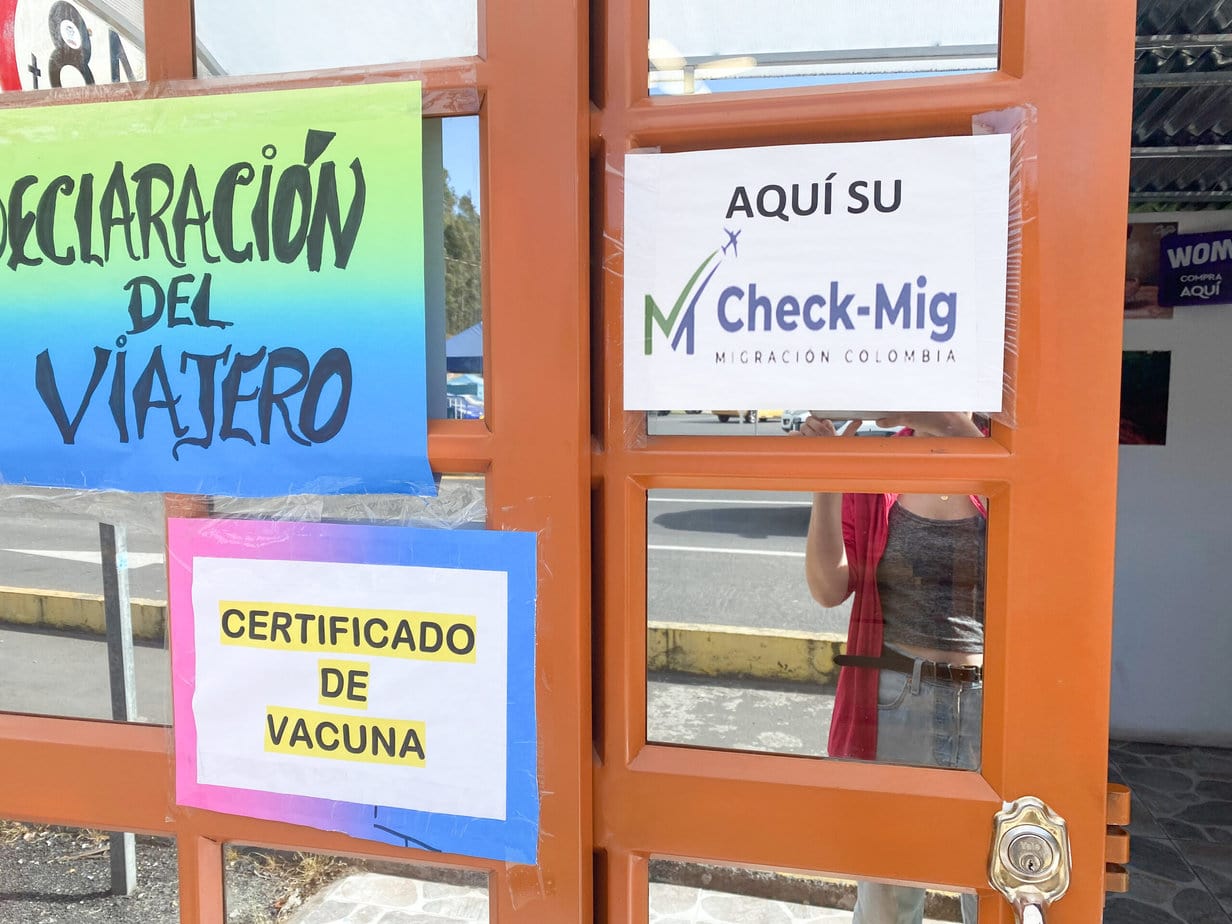
7. Complete MIG form (if not already done)
Update April 2023: A fellow traveler commented below that the check MIG is no longer required for land border crossings! However I couldn’t find any official websites that mentioned this change. Future travelers, please comment any updates below.
At this point, we became a little confused. The Rumichaca bridge which connects Ecuador and Colombia is pretty obvious, but we weren’t sure what to do next.
We still hadn’t completed our MIG form (required to enter Colombia), because we’d heard it was done for you at the border. So, we went to a small building by the bridge that had a sign that said “aqui su check-mig.” Weirdly, this was also like a combination snack bar.
It took ages and a surprise $6 USD each, but we got our MIG forms completed and printed. We had a small scare because my MIG form was approved in seconds whereas it took about 30 minutes for Dan’s to be approved. I’m a USA citizen and he’s a UK citizen, so we thought that could have something to do with it although we really aren’t sure.
Honestly, please save yourself the hassle and the $6, and just complete your MIG form the night before and save it to your phone. You can complete it online here.
Cost: $6 USD per person
Time: 40 minutes
8. Walk across the Rumichaca bridge / no man’s land
Around 4pm, we were finally getting ready to cross the bridge to Colombia!
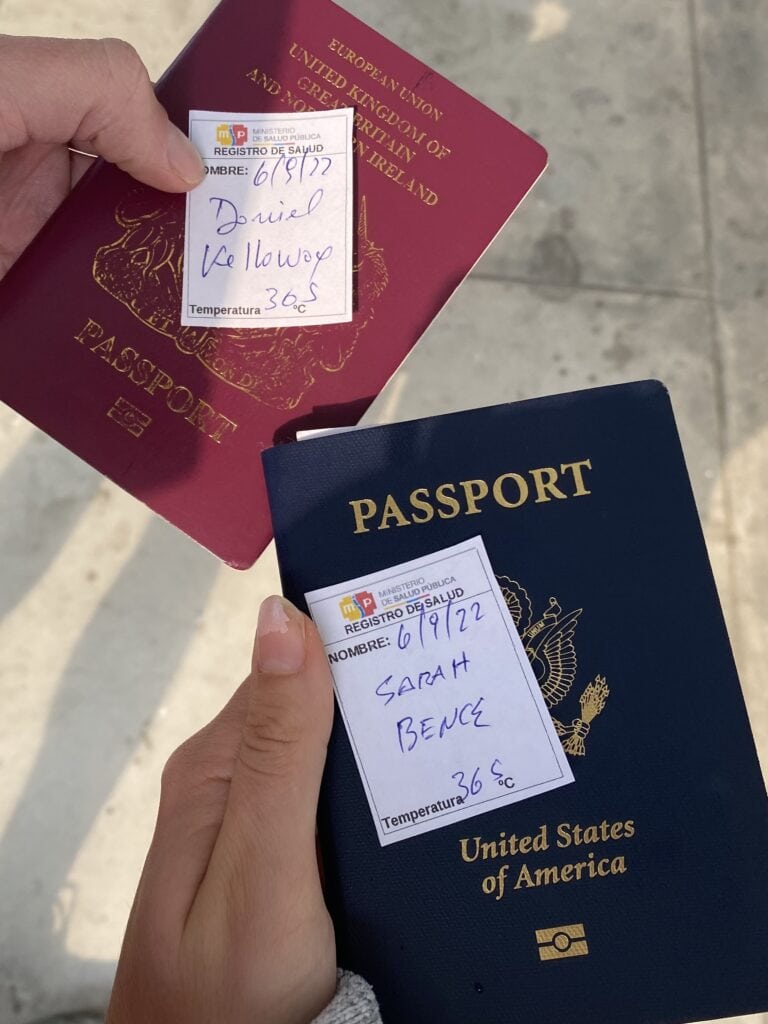
We had a delay here because on the Ecuador side of the bridge, there is a stand where someone checks your vaccination card, temperature, and health forms. An immigration officer told us that we needed to complete a health form before we could cross. We showed our just-completed MIG forms and they said no, that wasn’t the right form.
At this point, we were totally confused. We didn’t have any cell service and none of the public wifi worked so we couldn’t access this form that we’d never heard of. After another 45 minutes of struggle, and speaking to a couple helpful Ecuadorians along the way, we discovered that the health form was ONLY for people entering Ecuador, NOT for people entering Colombia. The immigration officer, I guess, had told us wrong.
So, we returned to the bridge once again, and walked quickly by the health stand and across the bridge. I kept thinking someone was going to come yelling after us and tell us to come back to Ecuador, but they didn’t!
Hopefully your no man’s land crossing experience is less confusing than ours. The short version is – don’t stop to ask anyone anything, just cross the damn bridge.
Cost: –
Time: 45 minutes (it really takes two minutes to cross the bridge, we were just confused)
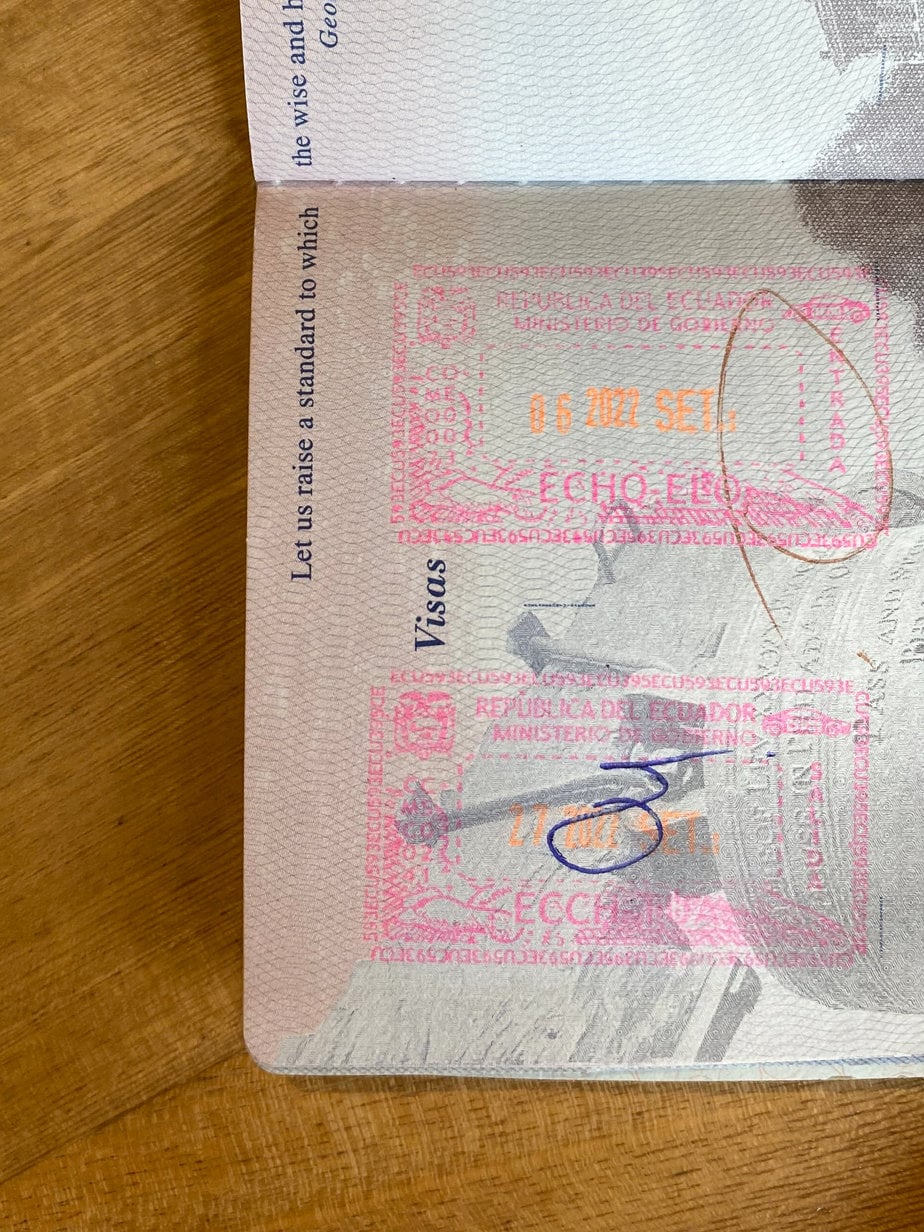
9. Enter Colombia
Once you cross the bridge to Colombia, you still have to “enter” Colombia, AKA get your passport stamped. Weirdly, you have to walk through a bunch of taxi drivers and money exchange guys first in order to reach the immigration office.
I see how it could be easy to accidentally just hop in a taxi and yeet out of here at this point, but DON’T! You’ll end up in major immigration trouble later if you forget to get your passport stamped.
The Colombian immigration building has a big sign that says “salida Colombia” and “ingreso Colombia.” Go to the “ingreso” (enter) side. Again, we had no line here so it only took 10 minutes total to answer a few questions, show our MIG forms and vaccination cards, and get our passports stamped.
Cost: –
Time: 15 minutes
10. Exchange USD to COP (optional)
At last! At 5pm, we were officially in Colombia!
We decided to exchange some USD to Colombian pesos at the border, solely because entering a country with zero of its currency is not very smart.
However, the exchange rates from the men walking around the border are obviously really bad. We only exchanged $20 USD and got 84,000 COP back (exchange rate 4,200 COP to 1 USD). For reference, the actual exchange rate at the time was 4,550 COP to 1 USD, so we essentially lost 7,000 COP (around $1.58 USD).
For us, that was completely worth it for the safety of having a few Colombian pesos in our pockets, and I’d recommend you do the same.
However, it’s smart to be prepared and know the exact exchange rate of the day (check here). Also, count through all your COP before you hand over your USD. Unfortunately, some people may try to take advantage and swindle you by giving you smaller denomination currency.
Cost: $1.58 USD (currency loss)
Time: 10 minutes
11. Taxi to Ipiales, Colombia
Finally, we were ready for the last step of our Ecuador to Colombia border crossing journey. From the border, your next step is to take a taxi to Ipiales.
Ipiales is the closest Colombian town to the border. Whether you decide to stay the night in Ipiales (like we did – I recommend it), or if you’re traveling onward to another destination in Colombia, you need to get to Ipiales first.
It was easy to get a taxi from in front of the Colombian immigration office. We paid $4 USD to get to Ipiales (you can pay in either USD or COP here), and it took 10 minutes.
In Ipiales, we stayed at Hotel Royal Class, and I highly recommend it. First of all, it’s incredibly cheap at just $12/night for a private room with private bathroom. It’s clean, our room was really spacious, and there was a hot shower. There was also 24/7 security and cameras, and just a one minute walk to a grocery store and some restaurants for a quick and safe dinner. Check rates and book here.
Cost: $4 USD
Time: 10 minutes

Onward Travel From Ipiales Colombia
From Ipiales, there are a couple options. Some travelers stay the night in Ipiales, and others head straight to the Ipiales bus station and travel onward to Pasto (a Colombian town with a bigger bus stations with more connections).
Personally, I highly recommend staying the night in Ipiales. Hotel Royal Class is my recommended accommodation. Honestly, it’s not worth the risk of traveling in this region at night. Our border crossing went about as fast as you could hope for, and it was still dusk by the time we arrived in Ipiales.
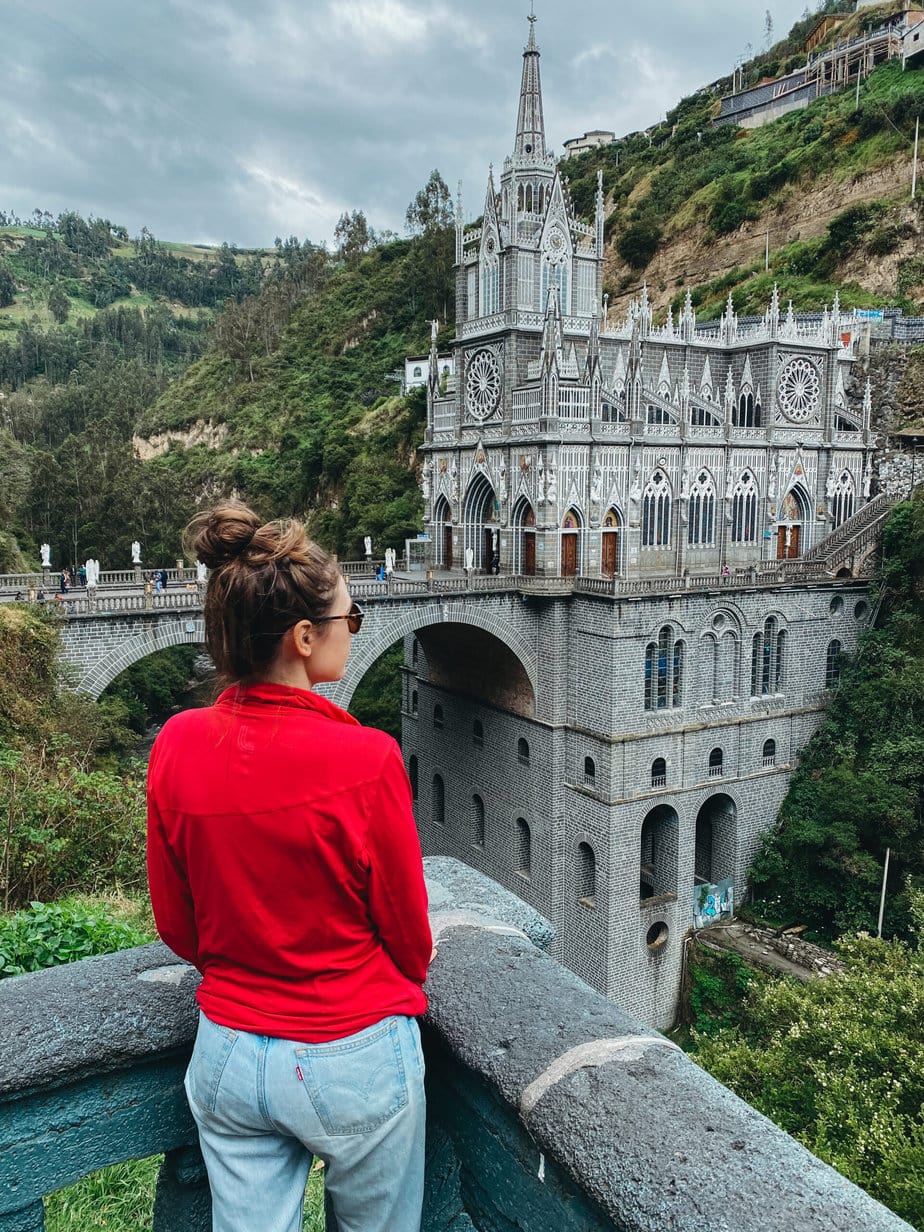
Another reason to stay in Ipiales is that you can visit the incredible Las Lajas Sanctuary the next morning, before traveling on to your next destination in Colombia. Seeing this gothic church that straddles a river, surrounded by waterfalls and Colombian countryside, is a sight so remote and unusual that you will likely never see anything like it again. Why waste the opportunity?
Other options for onward travel from Ipiales include:
- Pasto: There’s no touristy reason to visit here; it just offers better transport connections. Take a minivan from Ipiales terminal, which leaves every half hour and takes about 1.5 hours.
- Popayan: A beautiful white colonial city. The day after our border crossing, Dan and I visited Las Lajas Sanctuary and then took a bus to Popayan where we stayed for the night. A lot of people love Popayan but we had a really bad experience here – which I’ll save for another blog post. Nevertheless, it still makes a lot of sense to spend a night here on your way to the coffee region. From the Ipiales bus terminal take a Transipiales bus (green), which costs 50,000 COP / $10.75 USD per person, and leaves hourly. You’ll be told it takes 7 hours but our journey was nearly 10 hours.
- Cali: A big, somewhat seedy city known for its salsa culture. We passed by Cali but it’s worth a stop if you want to learn salsa. From Ipiales terminal, Cootranar buses leave hourly. The journey is 10 hours and costs approximately 83,000 COP / $18 USD.
- Salento: A gem of Colombia’s coffee region. We spent five days here! It’s too far to reach in one day from Ipiales. We took the bus to Popayan, stayed the night in Popayan, and then took the Tax Belalcazar bus the following day to Armenia (6 hours) and then the minibus to Salento (1 hour).
- Medellin: Again, too far to reach in one day from Ipiales. From Popayan, you can take a direct Flota Magdalena bus to Medellin (10 hours). However, I don’t recommend that. You should definitely stop in Salento and Jardin on your way to Medellin.
- Bogota: Likewise, too far to reach in one day from Ipiales. You could travel here via Popayan, Cali, or Salento.
For more onward travel plans, Rome2Rio is my go-to free tool to figure out travel routes.
Ecuador Colombia Border Crossing Overview
Everyone’s border crossing experience is going to be different. Ours is based on traveling from Mindo, and also traveling in a couple (so we split taxi costs). We also had basically no lines at the border, and our only delays were due to confusion on our part and the immigration officers’ parts.
Total time: 12 hours
Total cost: $43.78 USD total or $21.89 USD per person
Why Not Fly Between Ecuador and Colombia?
WOW, that was a long post. As you can see, it’s rather complicated to travel by land between Ecuador and Colombia! At this point, you might be wondering, why not just fly from Ecuador to Colombia?
Honestly, this is something we thought a lot about in the weeks leading up to our Ecuador Colombia border crossing. We’d even heard about some recent riots in Ipiales in the weeks before we crossed, which made us seriously look at flight prices.
The thing is, flights between Quito and Bogota are super expensive. When we checked, they were over $300 USD one way, before adding luggage. Considering our total cost for traveling by land came to $21.89 USD per person, that’s a lot of money.
Also, by flying you will miss out on the Las Lajas Sanctuary. It’s a loooong journey to visit this church if you’re not planning to cross the border to Ecuador or vice versa, so chances are you’ll probably never see it.
Safety Tips for the Ecuador Colombia Border
I didn’t feel imminently unsafe at the Ecuador Colombia border (like I have in other places like Popayan), but I also did feel on edge the whole time. This border crossing isn’t known for being super dangerous, but it’s also not known for being super safe either. Take from that what you will.
In order to remain safe at the Ecuador-Colombia border, here are a few tips:
- Leave Quito as early as possible, to give yourself plenty of daylight to complete the border crossing.
- Don’t cross the border at night.
- Don’t travel onward from Ipiales after dark as it’s unsafe, particularly the Cauca departmento (which has a level 4 travel warning from the US – except for the city of Popayan).
- Stay up to date with border news on Ecuadorian and Colombian news websites. Riots happen here but typically aren’t reported in USA, UK, and other english language news. I highly recommend asking your hostel or hotel staff in Ecuador to check the news for you. We found that the staff at Rebel Hostel in Quito was particularly helpful with this.
- If you are a solo female traveler, consider joining up with other travelers for this border crossing, or alternatively just flying from Quito to Bogota. I had Dan to cross this border with, but I would’ve been very uncomfortable to cross here by myself. Even in five minute stints without Dan by my side, I had men hassling me.
- Complete your MIG form ahead of time so you can reduce your time spent at the border itself.
- Have some USD cash on hand to exchange into COP.
- Keep your valuables (camera, phone, jewelry, wallet) either zipped away in your backpack or only use discreetly. Try not to draw attention to yourself.
Final Thoughts on the Ecuador to Colombia Border Crossing
I really hope this guide was helpful to any fellow travelers attempting the Ecuador to Colombia border crossing! It’s definitely one to be prepared for as it’s more complicated than other border crossings.
If you find this guide helpful for your own border crossing journey, I’d really appreciate it if you leave a comment below. Let me know how your trip went, and any updates or changes from what I’ve written here. I will keep this blog post updated so it remains useful for all of us!
Check out my other border crossing guides…
Peru to Ecuador Border Crossing Guide
Costa Rica to Nicaragua Border Crossing Guide
Nicaragua to El Salvador Border Crossing Guide
Guatemala to Honduras Border Crossing Guide
Panama to Costa Rica Border Crossing Guide
Sailing the San Blas Islands to Cross From Colombia to Panama (Coming Soon!)

Pin it for later…

Thank you for the guide – helped us a lot.
However, we wasted two hours trying to fill out the MIG, before we found out, that this is NO longer needed in April 2023, when it comes to land crossing.
Thanks
So glad it was helpful! I have tons of other Latin America border crossing guides if you’re backpacking long term 🙂 Thanks for the update about check MIG. I updated the post in a couple places to mention your experience. Did you find that info on any official websites? I couldn’t find it anywhere.
This information was amazing. Thank you. I just did this crossing and arrived in my hostel in Ipiales now, 19th June 2023. I didn’t need the MIG form. I asked the guy ushering people in and he said it’s not necessary. I also wasn’t asked for any information except the hostel I was staying in Ipiales. I’m a UK citizen for your information. The crossing was really much easier than I expected. And it took me at most 15 minutes from stamping out in Ecuador to stamping into Colombia. However I later found out it’s a national holiday today in Colombia. So that’s why it was so quiet on the border.
I’m so glad the border crossing went smoothly for you. Now, enjoy Colombia!! One of the best places ever!
I have lived in Ecuador twelve years and have ever been stopped at the Rumichaca border crossing. I am a U.S. transplant. You might want to try Mondays. And depends a lot on your mod of transportation. Taxi driver and one person is the best bet. Monday is a slow day and usually no one in line.
Thank you so much for such a nice detailed description of this border crossing. You mentioned an unpleasant situation in Popayan, I haven’t found anywhere else on your website info about that, first, I’m sorry to hear you had such a case, could you tell us what is was specifically? I’m planning to go there and wanted to have every possible detail too. Thanks!
Hi Daniel! I’ve sent you an email to the address that you listed when you left the comment. I haven’t decided how/if I’m going to share our Popayan story publicly on the blog yet but I did send you all the details. Hope it helps you make your decision.
Hi, Thanks for the really helpful blog post, we are heading to Colombia in the next few days. But I’d also like to hear of your not so good experience if possible. Thanks in advance 🥰
Hi Hollie, we got stuck on a road during a gun fight in Popayan. Most terrifying experience of my life. I’d recommend not to go out after dark there and try to get a bus that arrives during daylight hours (and expect it to be delayed a few hours) – if you haven’t already passed through the area that is!
Hey. Thank you so much for your guide! As a solo female traveller it helped a lot and made me prepared for the crossing. I just crossed the border today and can confirm that the MIG is no longer needed. I tried to do it online, but that’s not even possible (you can’t select to cross by land – only by air)
In fact, I only had to show my passport at the border, so everything went nice and smoothly!
Thanks for the extensive guide, it helped us much preparing for our crossing earlier today. Two notes that might be helpful 1: We took the bus from the Quitumbe bus terminal in Quito (South), although you do stop in the Northern station as well, you can get a bus from the Southern station. 2: Upon wanting to filling out the MIG form beforehand we found the website to not be properly working (and so did not manage to fill out the form). When arriving at the migration office at the Colombian side today they did not ask for it at all and we just passed without it.
Cheers!
Hi Sarah I am currently in Ecuador and will be heading back to Colombia soon. I was told I would not need a PCR test for land border crossing…is this true?
Hi Keveina… Was a vaccine certificate needed to enter Colombia from Ecuador
? Thank you, John.
Hello,
This is super helpful, we are going from Colombia to Ecuador in a few days. I wonder if there is any comments you have about crossing the border on a weekend vs a weekday? Either option better?
Thanks!
Hannah
Hi Hannah, we crossed the border last week using your detailed guide and it was so helpful – thank you! It seems the MIG form is definitely not needed for land border crossing at present and if you try to complete the form online it’s physically impossible to tick the land entry box on the online form. Thanks again for writing this – it was so helpful.
“The Check-Mig is mandatory for all passengers entering Colombia by air, while the requirements for a Colombian visa depend on the nationality of the traveler.’
This was found on this website – https://www.colombia-checkmig.com/
Thank you a lot for this guide! It was really helpful for crossing the border. I crossed it two days ago (17-11-2023) and all was fine. Note: I didn’t need a MIG form! We crossed it actually in the the evening in the dark, but still al was fine!
Greets from a Dutchie:)
Hello, Thank you for such a detailed post. We are leaving in 2 weeks and plan to use this crossing. I will update you after our trip.
However, I was looking for the info – can I cross this border with rental car from Ecuador (this brings me to your site). Would you know anything about it? Thank you, Tatjana
Hi… Is the vaccination certificate still needed to enter Colombia from Ecuador in September 2024? Thank you!
Hello! Thank you for your post! We crossed border from Ecuador to Colombia yesterday and your blog post helped a lot. MIG form was not asked from us either (citizens of Finland and Netherlands).